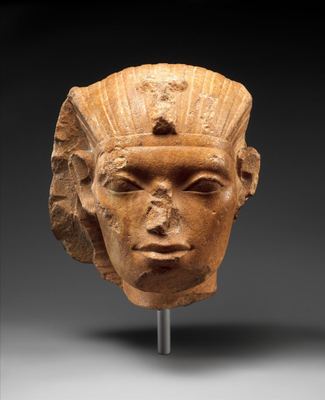
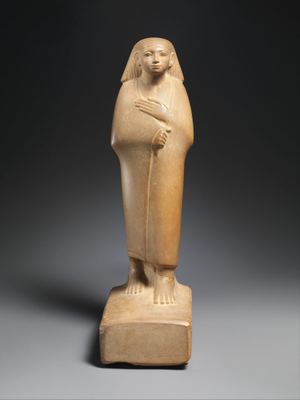
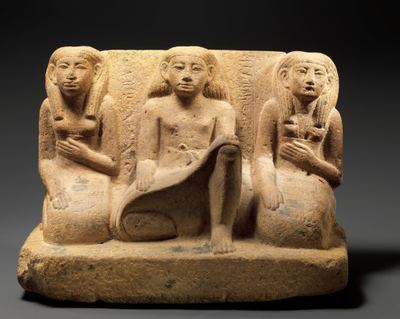
Lintel depicting King Amenemhat I flanked by Nekhbet, Horus, Anubis, and Wadjet
A door lintel 1.7 meters wide carved with King Amenemhat I flanked by four deities; the paint on the vulture, falcon, jackal and cobra gods is still vivid. Full commentary ↓
Couldn't load the puzzle image.
Turn on piece outlines to see piece positions on this picture too
Drag the pieces into place · When zoomed in, drag an empty spot to move around
You can also play with a keyboard — Tab to the board, thenSpace pick a piece, Arrow keys move it (with Shift for small steps),Esc deselect, R rotate a piece (Shift+R the other way)
Lintel depicting King Amenemhat I flanked by Nekhbet, Horus, Anubis, and Wadjet is a stone object by an unknown maker (ca. 1981–1952 BCE) in the collection of The Metropolitan Museum of Art.
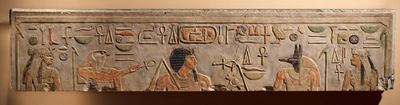
In the pictureA king sits at the center of a long horizontal limestone slab, flanked by the falcon-headed Horus, the jackal-headed Anubis, the vulture goddess Nekhbet and the cobra goddess Wadjet. Hieroglyphs are painted above and between the figures in vivid red, blue and yellow. It is 1.7 meters long and weighs more than 180 kg.
BackgroundA lintel is the stone laid horizontally above a doorway, and this slab sat above a door of a temple of Amenemhat I. The four deities stand for kingship, the protection of the dead, and Upper and Lower Egypt respectively, showing the king protected by the gods of the whole country. Egyptian reliefs rarely keep this much paint, which gives a sense of how splendid the original temple must have been.
Puzzle tipThe image is extremely wide, so the pieces come out flat. Place the heads of the four deities (falcon, jackal, vulture, cobra) and the king in the center first to set up five pillars, then fill in the hieroglyph pieces between them by color. The straight pieces along the top and bottom edges form the frame. 48 pieces is a good fit.
- Period
- Middle Kingdom
- Dynasty
- Dynasty 12
- Medium
- Limestone, paint
- Dimensions
- H. 36.8 × W. 172.7 × D. 13.3 cm, 183.7 kg (14 1/2 × 68 × 5 1
- Credit line
- Rogers Fund, 1908
Source: The Metropolitan Museum of Art ↗
Stories about this work
- Five Stones from the Ruined Temple of Amenemhat I
The pyramid temple of the king who founded the 12th Dynasty has collapsed, but its excavated fragments still record his name, his face, and his co-rule with his son.